For homeowners researching artificial turf installation in Boise, the finished lawn is only part of the story. The quality of the surface depends heavily on what happens underneath it: excavation, grading, drainage, base construction, seam placement, edge securing, and infill. When those steps are handled correctly, artificial turf looks better, drains properly, and stays stable under everyday use. This guide walks through the professional installation process from the first site review to the final walkthrough, so Boise homeowners know exactly what to expect.
Why the Installation Process Matters More Than Most Homeowners Realize
Artificial turf is not simply rolled over an existing lawn. It is a complete landscape system built in layers. The visible turf provides the finished appearance, but the prepared ground and aggregate base control stability, drainage, and long-term performance.
Shortcuts below the surface may not be obvious on installation day. Problems often appear later as low spots, wrinkles, lifted edges, visible seams, or standing water. That is why a professional installation spends a significant amount of time preparing the site before the turf is placed.
Step 1: Site Review, Measurements, and Project Planning
Every installation begins with an on-site review. The installer measures the area, checks access points, notes slopes and drainage patterns, and identifies obstacles such as irrigation heads, tree roots, utilities, pavers, planting beds, and fences.
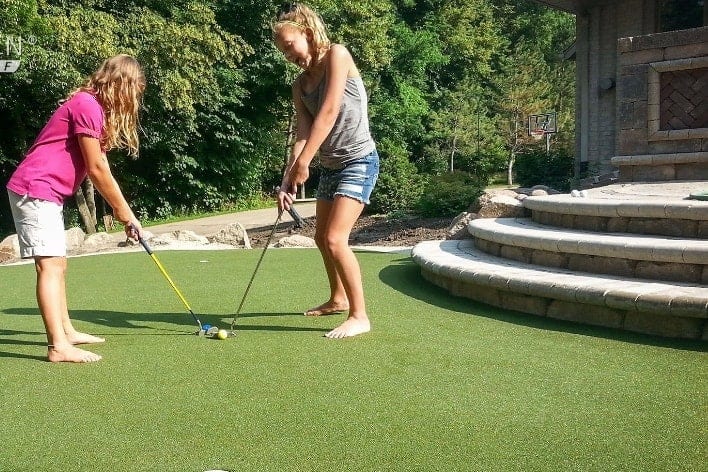
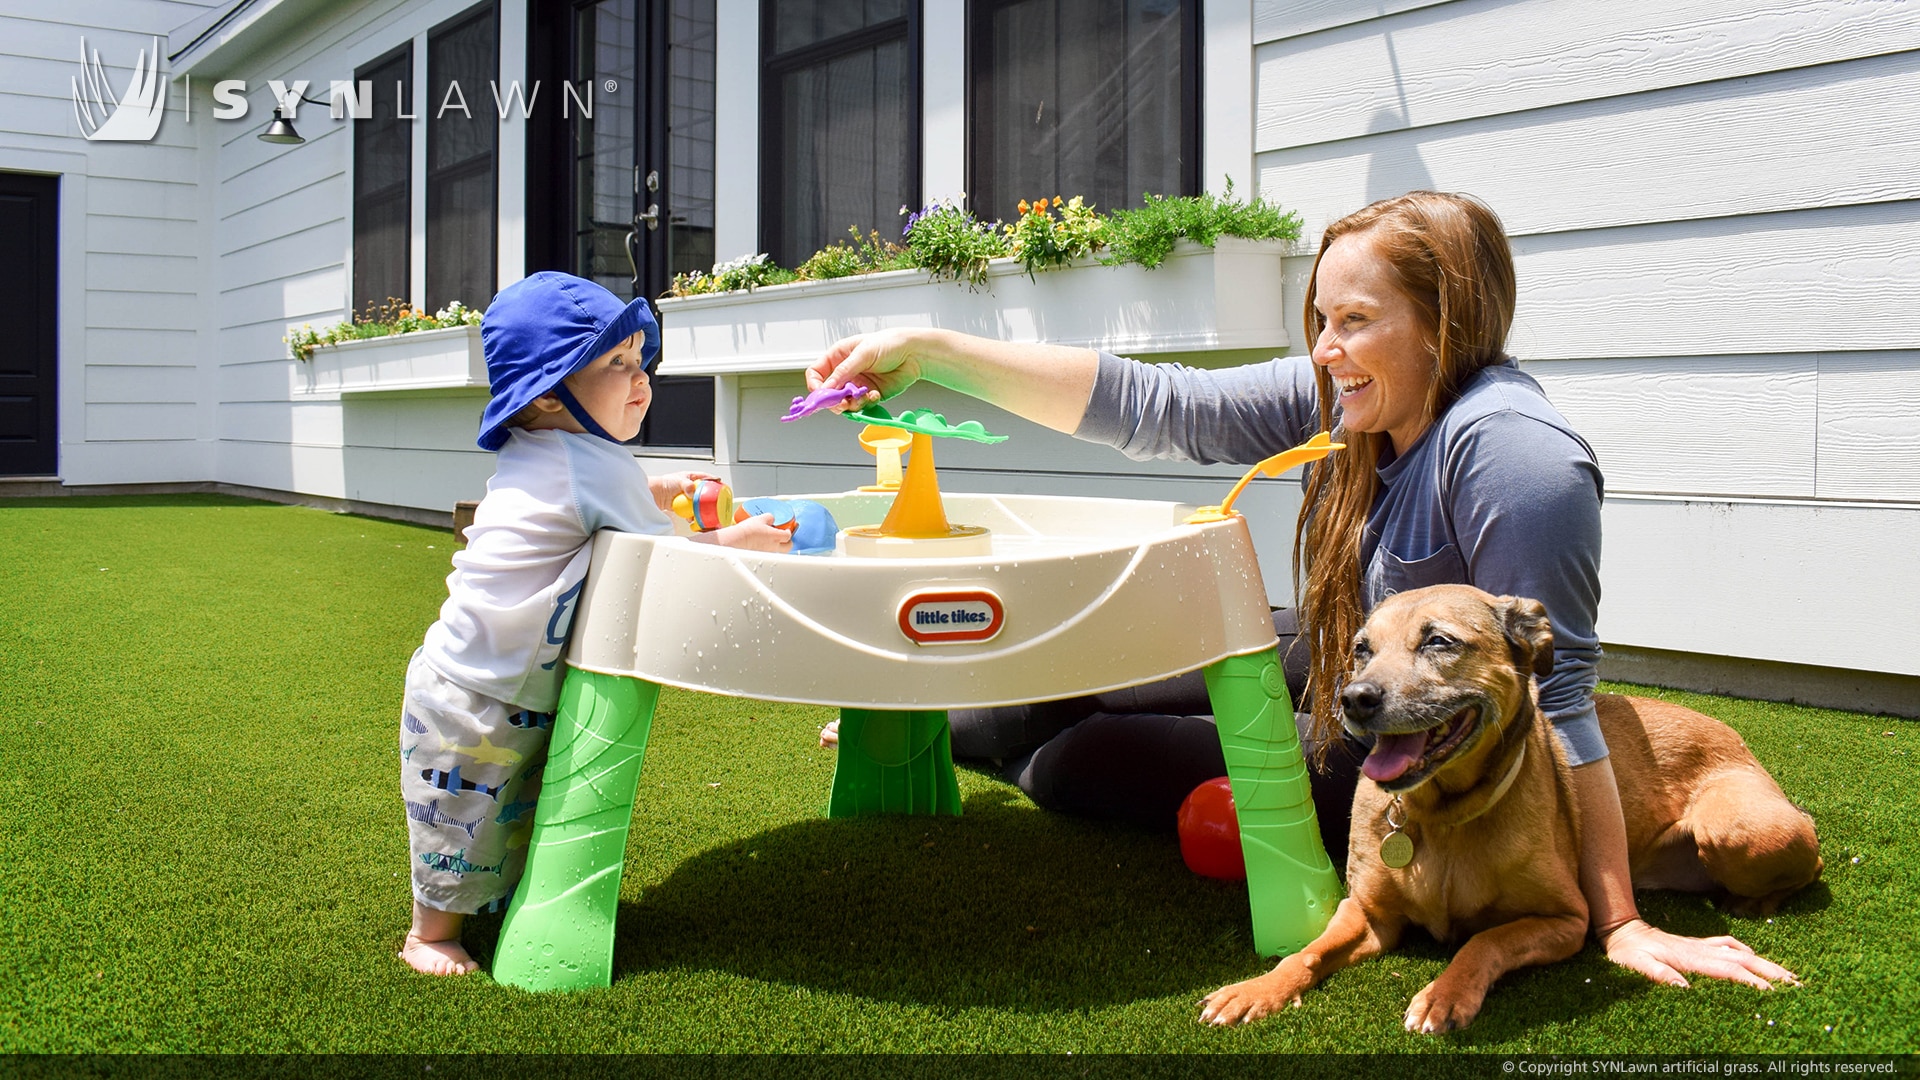
This is also when the homeowner explains how the space will be used. A decorative front lawn, a family backyard, a dog run, and a putting green require different products and construction details. Traffic level, pets, sun exposure, and surrounding landscaping all affect the plan.
Accurate measurements help determine material quantities and seam placement. The installer should also explain which existing features will remain, what must be removed, and how the turf will connect with hardscape and planting areas.
Explore SYNLawn Idaho’s residential artificial grass options
Step 2: Choosing the Right Turf and Installation System
Artificial grass products vary in pile height, blade shape, density, softness, color, backing, and intended application. The most realistic-looking product is not automatically the best option for every yard.
A high-traffic family area needs fibers that recover well after repeated use. Pet spaces need efficient drainage and a cleaning-friendly system. A putting green requires a specialized surface designed for predictable ball roll. Product selection should match the daily demands of the space rather than appearance alone.
Step 3: Removing the Existing Lawn and Excavating the Area
Once the plan is approved, the installation team removes the existing grass, weeds, roots, and loose organic material. This step creates room for the compacted base and prevents decomposing material from causing movement underneath the turf.
The excavation depth depends on the application and existing ground conditions. The team must remove enough material to build a stable foundation while keeping the final turf height level with patios, walkways, curbs, and other surrounding surfaces.
Step 4: Correcting the Grade and Planning Drainage
Artificial turf allows water to pass through the surface, but water still needs somewhere to go. The soil and base must be graded so moisture moves away from the home and does not collect in low areas.
During this stage, the installer evaluates existing drainage patterns and corrects uneven sections. Downspouts, clay-heavy soil, narrow side yards, and low spots may require additional planning. If the property already has a drainage problem, covering it with turf may not solve it.
Step 5: Building and Compacting the Aggregate Base
The base is the structural foundation of an artificial lawn. Aggregate material is placed across the excavated area, spread to the required depth, shaped to the planned grade, and compacted.
Compaction is completed in controlled passes so the surface becomes firm and consistent. The installer checks the area for soft spots, dips, and high points before moving forward. Small imperfections at this stage can become visible after the turf is installed.
Step 6: Laying Out, Cutting, and Seaming the Turf
Turf rolls are positioned before final cutting so the installer can confirm blade direction, coverage, and seam locations. All pieces should face the same direction unless the design intentionally requires otherwise. Mixed blade directions can create visible color differences.
The turf is then cut around borders, curves, trees, pavers, and other features. Detailed cutting is important because gaps and overly tight edges can both affect the finished appearance.
When more than one piece is required, seams are positioned in less noticeable areas whenever possible. The edges are trimmed precisely, aligned, joined, and checked from different viewing angles before being secured.
Step 7: Securing the Perimeter and Finishing the Edges
After the turf is positioned, the perimeter is secured so the surface stays flat and does not lift or shift. The installation method depends on the border material and the design of the area.
Step 8: Applying Infill and Brushing the Fibers
Infill is distributed across the turf and brushed down between the fibers. It helps support the blades, adds weight, improves stability, and contributes to the way the surface feels underfoot.
The infill type and amount depend on the turf product and application. Pet areas, residential lawns, play spaces, and putting greens may use different specifications. Applying too little, too much, or the wrong type can affect appearance and performance.
After infill is applied, the surface is power-brushed so the fibers stand upright and the material settles evenly.
Explore SYNLawn Idaho’s pet turf systems
What Happens During the Final Walkthrough?
Before the project is complete, the installer should inspect seams, edges, transitions, drainage areas, surface consistency, and infill distribution. Any loose fibers or installation debris should be removed.
The homeowner should walk the area with the installer and ask about cleaning, brushing, pet care, stain removal, and seasonal maintenance. This is also the right time to confirm how irrigation zones were adjusted and whether any follow-up work is expected.
How Homeowners Can Prepare Before Installation Day
A few simple preparations can help the project move smoothly:
- Remove furniture, toys, planters, and movable decorations from the work area
- Provide clear access through gates, driveways, or side yards
- Mark or disclose known irrigation lines, lighting wires, drains, and utilities
- Confirm which plants, trees, borders, and hardscape features will remain
- Plan for children and pets to stay outside the active work area
- Discuss material staging and debris removal before the crew arrives
Homeowners should also review the project scope one final time. Product choice, turf boundaries, special features, and edge details should be confirmed before excavation begins.
Request a free artificial turf installation quote from SYNLawn Idaho
Frequently Asked Questions
Can artificial turf be installed directly over natural grass?
No. Existing grass and organic material should be removed before the base is constructed. Installing turf directly over a lawn can cause unevenness, movement, weed problems, and poor drainage.
What happens to the existing sprinkler system?
Irrigation components inside the turf area are typically capped, removed, or adjusted. Zones serving trees and planting beds may remain active. The installer should review the system before excavation begins.
Will artificial turf drain during heavy rain?
Yes, when the turf, base, and grade are designed correctly. Water passes through the surface and moves through the prepared drainage layer. Existing site problems may need correction before installation.
Will seams be visible after installation?
Well-planned seams should be difficult to notice. Product direction, precise trimming, alignment, joining technique, and infill all affect how the seam appears in the finished lawn.
What maintenance is required after installation?
Routine care generally includes removing debris, brushing high-traffic areas, rinsing dust, cleaning pet waste promptly, and checking edges or infill periodically.
Review SYNLawn Idaho’s turf maintenance services.